How to Use a Cold Plunge Tub: A Beginner’s Step-by-Step Guide
Learn how to use a cold plunge tub the right way! Follow this step-by-step guide for beginners to maximize recovery, reduce stress, and improve performance.
Introduction
Cold plunge therapy is becoming a game-changer for athletes, biohackers, and wellness enthusiasts. But if you’re new to cold plunging, you might be wondering:
- How long should I stay in?
- What temperature is best?
- How do I make the most of my cold plunge experience?
This step-by-step guide will help you safely and effectively use a cold plunge tub, whether you’re doing it for muscle recovery, stress relief, or mental clarity.
Step 1: Set Up Your Cold Plunge Tub
Before jumping in, make sure your cold plunge tub is ready to use.
✔️ Fill the tub with water – If your tub doesn’t have a built-in chiller, use regular water and add ice to lower the temperature.
✔️ Check the temperature – Ideal cold plunge temperatures range between 39°F (4°C) and 59°F (15°C).
✔️ Prepare your space – Keep a towel, robe, and warm clothing nearby for after the plunge.
Pro Tip: If you’re using an Ice Haven Cold Plunge, adjust the built-in chiller to your preferred temperature and let it stabilize.
Step 2: Get Mentally & Physically Ready
Cold plunging can be a shock to your system, especially if you’re a beginner.
✔️ Start with breathwork – Try deep belly breathing or Wim Hof breathing to prepare your body for the cold.
✔️ Dress minimally – Wear a swimsuit or go in without clothing for full-body exposure.
✔️ Set a timer – Aim for 30 seconds to 2 minutes as a beginner.
Pro Tip: Your first few dips may feel uncomfortable, but your body will adapt over time.
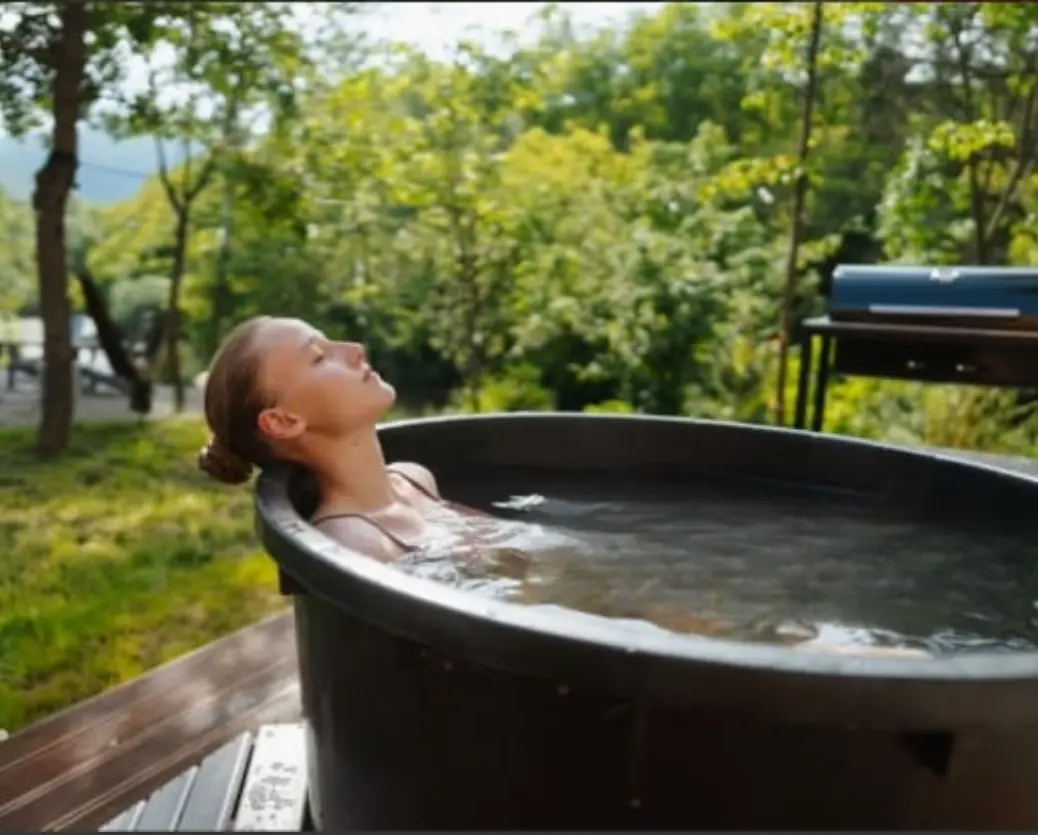
Step 3: Enter the Cold Plunge Tub

✔️ Slowly step in – Enter one foot at a time, then sink your body up to your shoulders.
✔️ Control your breathing – The initial cold shock will make you want to gasp—breathe in slowly through your nose and exhale through your mouth.
✔️ Stay still & relax – Avoid unnecessary movement to conserve body heat.
Pro Tip: If it's too intense, start by dipping just your legs or arms first before going all in.
Step 4: Stay in the Cold Plunge for the Right Time
How long should you stay in? It depends on your experience level:
⏳ Beginners: 30 seconds to 2 minutes
⏳ Intermediate: 2 to 5 minutes
⏳ Advanced: 5 to 10 minutes
✔️ Listen to your body – If you start feeling numb, lightheaded, or overly uncomfortable, get out.
✔️ Keep breathing deeply – It helps calm your nervous system and reduce stress.
Pro Tip: If you’re doing contrast therapy (switching between sauna & cold plunge), alternate 10-15 minutes of heat with 2-5 minutes of cold.
Step 5: Warm Up Properly After Your Cold Plunge
After getting out of the cold plunge:
✔️ Pat yourself dry with a towel—don’t rub too hard.
✔️ Dress in warm layers to let your body naturally regain heat.
✔️ Move around – Do some light exercises like jumping jacks or push-ups to increase circulation.
Pro Tip: Avoid using hot showers immediately after—let your body naturally warm up to get full benefits.
Cold Plunge FAQs (Common Questions Answered)
Q: How often should I cold plunge?
✅ Beginners: 2-3 times per week
✅ Experienced Users: Daily or as needed for recovery
Q: What’s the best temperature for cold plunging?
✅ For recovery & performance: 39°F–50°F (4°C–10°C)
✅ For general health benefits: 50°F–59°F (10°C–15°C)
Q: Can I cold plunge if I have medical conditions?
⚠️ Check with your doctor if you have heart conditions, low blood pressure, or respiratory issues before trying cold therapy.
Final Thoughts: Start Your Cold Plunge Journey Today!
Cold plunging has incredible benefits for muscle recovery, stress reduction, and mental clarity. By following these steps, you’ll maximize your results and make cold therapy a powerful part of your wellness routine.
Ready to experience the benefits of cold plunging?
👉 Browse Our Cold Plunge Tubs Now